


From greyscale to color!
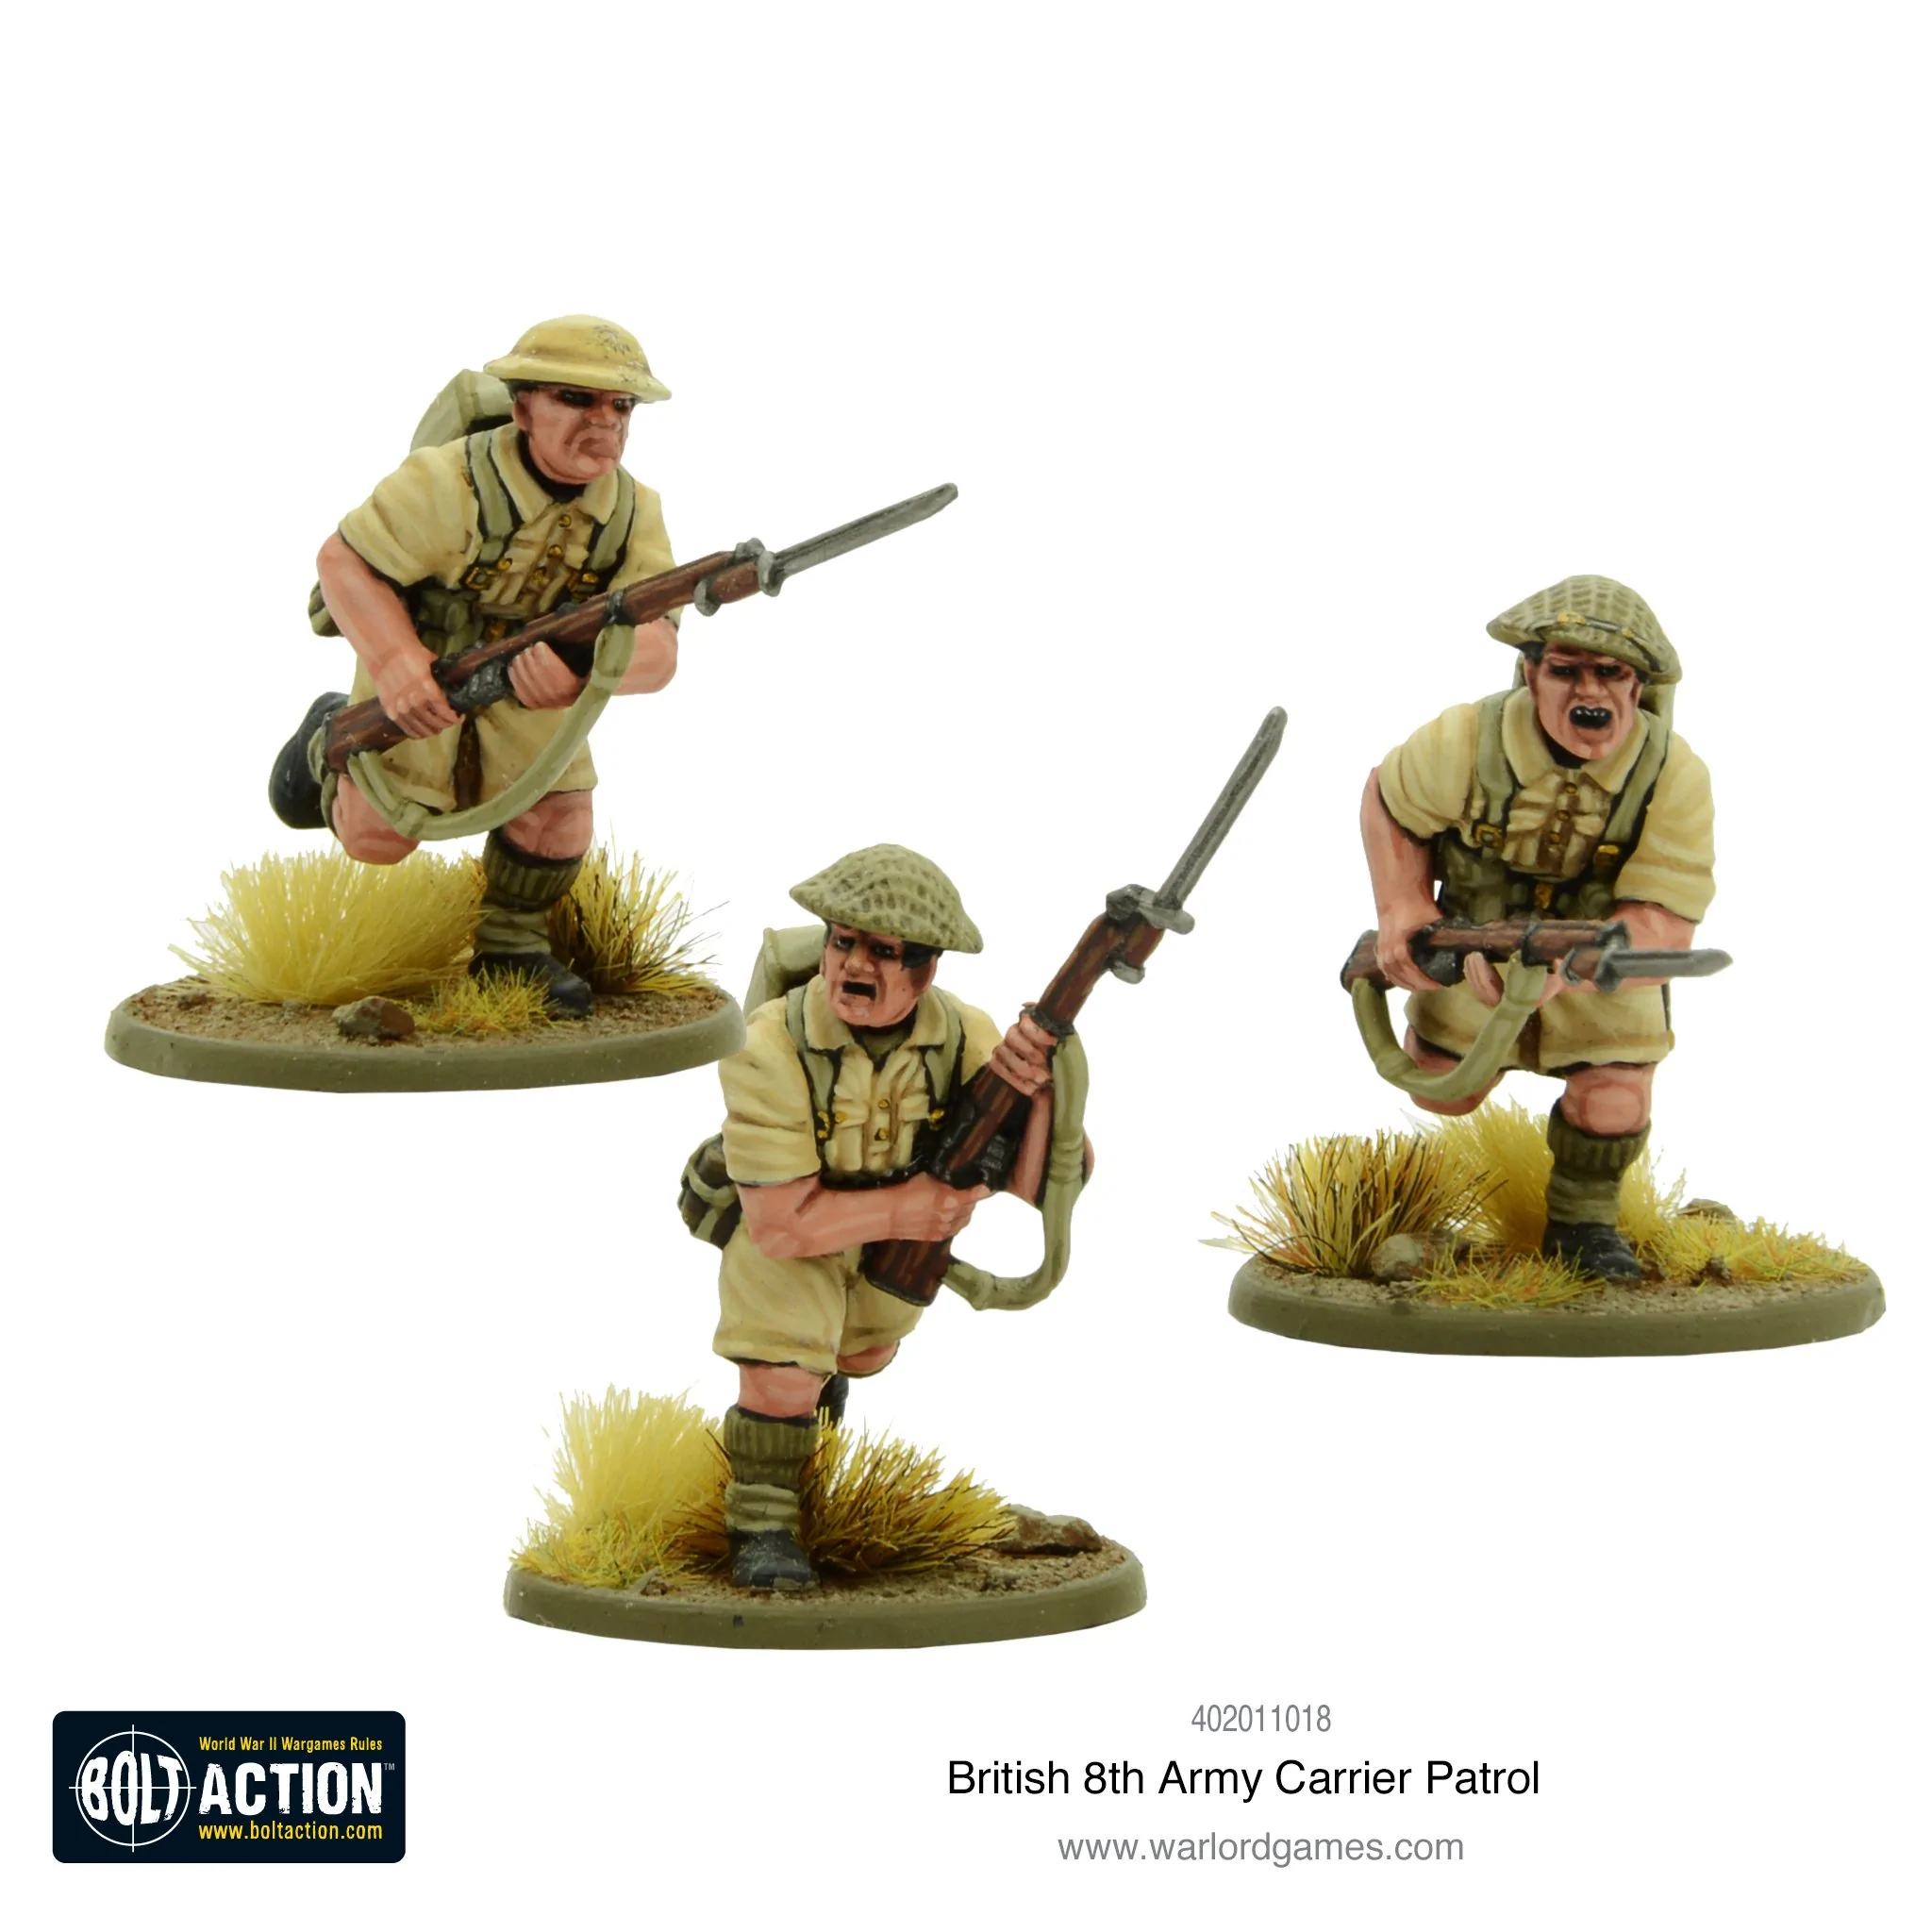
You have some miniatures to paint. And it’s very likely that you’ve picked some up with a board game, or maybe you’ve gone all in on a irresistable Kickstarter, acquired some #warlordgames Bolt Action or #starwarslegion or want to add a bit more flavour to your roleplaying sessions. It’s a great hobby, and with some patience and practise (as with almost every other things in life) you can be a good miniature painter in time.
Getting Started.
- Equipment: A small list of things you’ll need to paint your minis.
- Paint Brushes
- Pallettes
- Primers
- Preparation: Getting your mini ready to paint.
- Basecoating: The first stage, where the main colours are applied.
- Shading: Adding shade to the recesses of the model to imply shadow.
- Layering and cleanup: Cleaning up the areas where shade is not needed, and adding vibrancy.
- Highlighting: Edge highlighting and drybrushing explained.
- Detailing: Picking out the last few details of the model.
- Final touches and advanced techniques: Next steps you might consider exploring.
Equipment
Before you actually get to paint, you should make sure that you have the needed equipment and tools for painting.

For paint brushes, it is useful to have a brush with a very good tip for detailing and highlights, a smallish one for minor areas of the model, a larger one for base coating/washing, and a stiff-bristled brush for drybrushing.
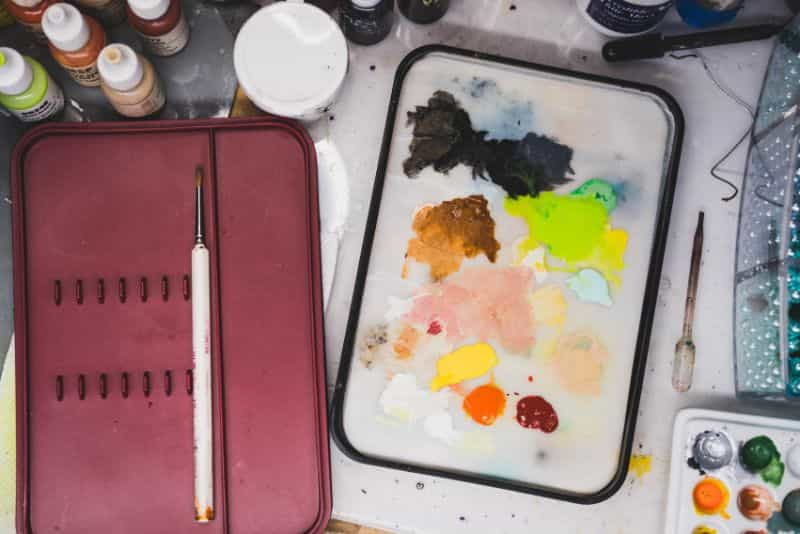
A palette for thinning paint is helpful – but you can use the lid of a plastic container or a ceramic tile rather than a specialist palette. A wet palette can be very good if you want constant thinned paints. We recommend the use of wet pallettes because you will eventually get one as you advance in experience.
You will need a few paints to get started… so look at your miniature and think of the main color scheme. A model will usually have a few primary colours for skin, armour, cloth … leather accessories like bags and boots.
You will need some metallic colors as well… Gunmetal and Steel are the most common ones. If you are into fantasy, you may need Gold or Silver instead.
PRIMERS
Primers are special paints that you coat your miniature with right from the start. This will enable the paints to adhere better to the miniature. The come in several colors… but for starters… lets go with BLACK. Black is versatile and if you missed out an area.. they won’t stand out and will just appear as shadows. Primers comes in a rattle spray can or brush on bottles.
Other tools you may need when the miniature requires assembly.
- Clippers / Snippers – To cut the miniature parts from the sprue frames.
- Plastic Cement – To bond or join the plastic parts
- Super glue – To bond or join parts of different materials
- A small file or sanding sponge – To smooth out cutting nubs and mold flashes.
Preparation
Some models require assembly before painting especially those from the wargaming lines. Miniatures from board games are mostly a 1 piece sculpt.
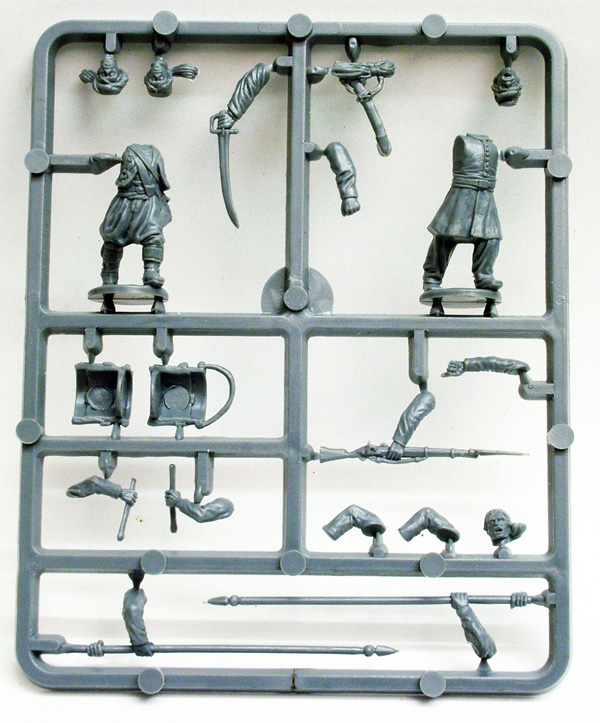

To get a model ready for painting, you’ll need to assemble it first. The model is clipped from the sprue, and then mould lines can be scraped off with the back of a craft knife.
For non-push-fit models, poly cement will be needed to glue them together. Some plastics, as well as resin and metal, will need superglue to be put together.
The first step is to prime the model black either from a spray can of black primer paint or brush on primer paints. You can use grey or white if you want to paint a model with lots of bright colours such as yellow or white, but black is generally the most forgiving as any hard-to-reach areas will always be shadowy. Make sure you get a thin and even coat. For spray cans… using short bursts from about 15cm to 30cm away, and leave the model to dry for around 30 minutes. If you’ve missed any areas, repeat the process until you have a fully primed model.
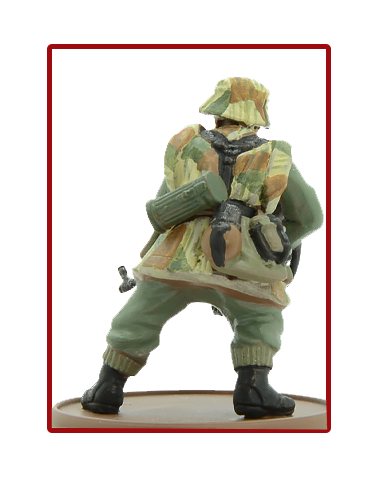
Basecoating
Basecoating is the process of painting the basic colours on your model. The best way to achieve this is to use thin, even layers of paint to smoothly lay down coats of paint. In general, you won’t want to apply the paint straight out of the bottle – always thin it with a few drops of water. If you are using a wet pallette, paints are going to be automatically thinned as water will seep up from below. So additional thinning may not be necessary. Getting the consistency is tough, but it should be runnier than paint, and thicker than water. It’s always worth being patient with your layers, and remember that two or three thin layers is better than one thick layer.
Getting a smooth coat isn’t magic, it’s just patience. It starts off looking thin and sketchy, but a few coats will provide a good base to work from. It’s also useful to remember that when painting, a mistake isn’t the end – simply paint over it, remembering to keep your paint thin.
At this point your model should look nice and colourful, with crisp bright layers of paint. You can stop here if you wish, but going further will improve the model considerably.
Shading
Because miniatures are, well, miniature, light doesn’t have the same effect on them as it does larger objects. Instead of relying on the way that recesses interact with light to create shadows, you need to pain them in with darker paints. The easiest way to accomplish this is to use “washes” or “shade paints” to shade the model. These are thin paints that settle in the recesses of models to imply shadows, amongst other uses. You can use pre-made washes, but you can get a similar effect by diluting a darker paint with water.
It’s important to check you don’t get big pools of wash drying on flat areas at this stage, so give it a once-over after you’ve washed it. If there is a big blob of wash resting somewhere, use a bit of water on your brush to spread it a bit further.

Washes when applied will look darker and wet at the begining. Letting it dry first will give you a better gauge when deciding to give the miniature and round of wash or spot washing certain areas.
Focus only on recesses such as folds of cloth, around joints and areas that have lots of nooks and crannies, such as gauntlets. This will leave flatter areas untouched, allowing armour and cloth to remain bright.
Deciding when to cover a whole area or just the recesses will differ on your model, but you can always layer over a wash with the original colour if you want to brighten it up after.


When shading a model, you have a few choices beyond just making the paint darker. You can use a contrasting colour, such as green on red, to add extra depth to the shadow. If you take a look coloured art, or other models, you’ll see that shadows are rarely simply black, and instead have a hint of colour. If you’re looking for help with picking complementary or contrasting colours, Googling for colour wheels can be a good place to start, as there is a lot of theory behind this method.
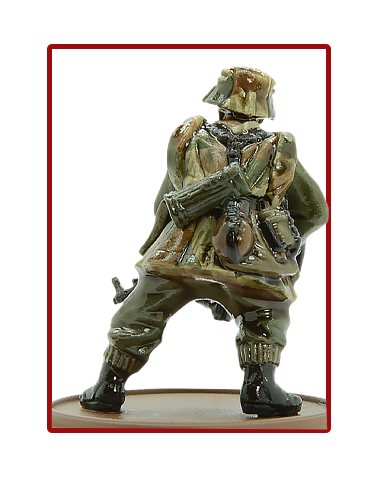
Layering and cleanup
Bascoating and shading will give you a model that looks perfectly fine for most usage, and this may be where you might be happy to leave your model. It is recommended that you at least tidy up any raised areas that have been washed by going over them with the original colour. This is often called layering, and is the stage where clean colours are built up on the flat planes of the model, in order to strengthen the contrast between the shadows in the recesses and the highlights that will be added later.
Depending on the effect you are going for, you will want to either layer over the raised areas with the same as the lower area or a brighter colour if you want to amplify the contrast.

Highlighting
Edge highlighting

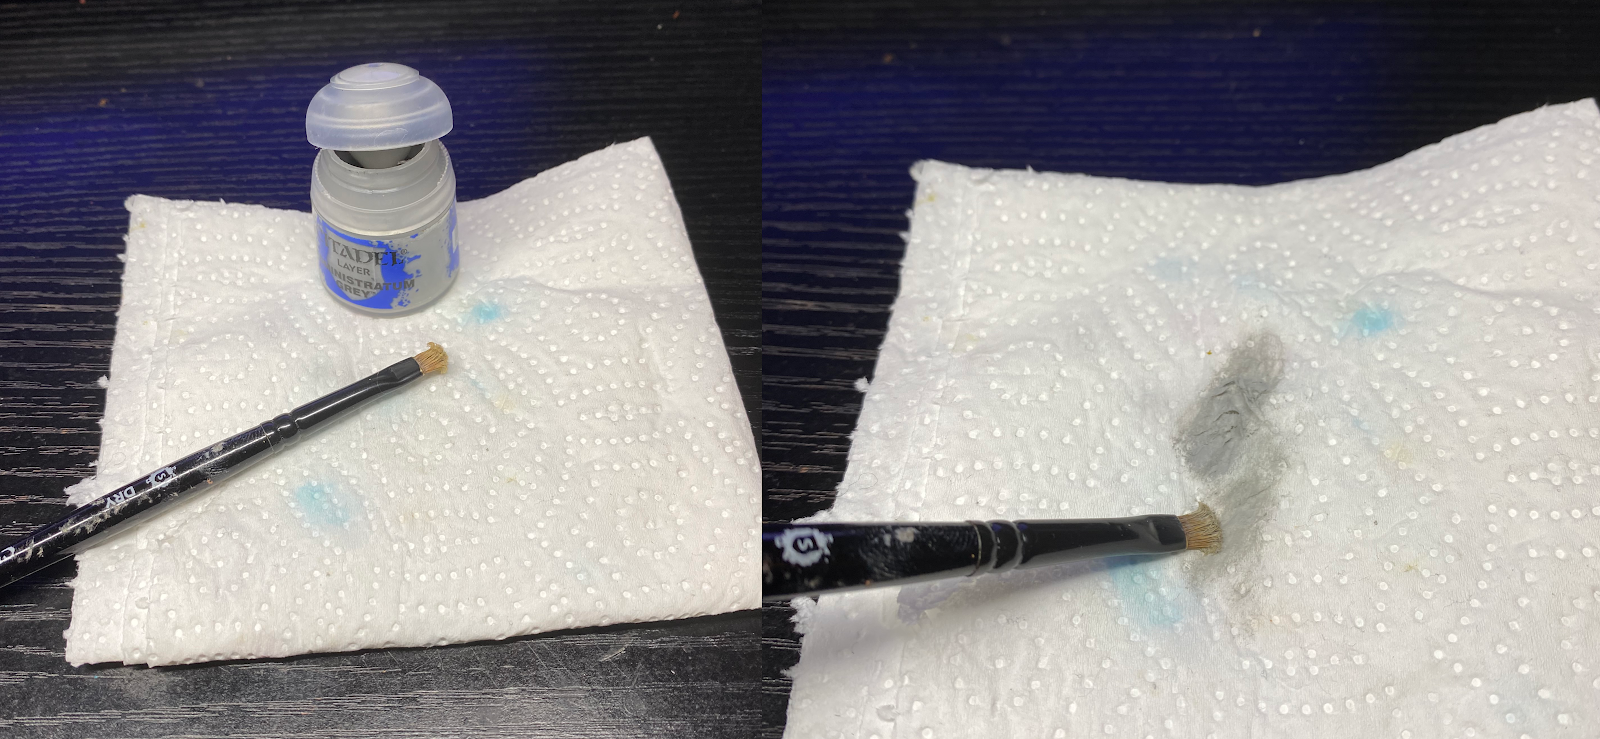
Just like shading, highlighting simulates the effect of light reflecting off the highest points of an object. The process of painting these edges to create this effect is frequently known as edge highlight. It is a process more finesse than shading, but it should still be easy enough to approach if you keep your paint thin. If you are finding your paint too runny, you can always wipe some of the excess off with tissue paper.
At this stage, focus only on the edges that would catch the light: sharp ridges that make up the higher parts of the folds in the cloth, as well as the ridges on armour, especially around the fingers. Avoid highlighting with the tip of your brush as it is quite hard to control. Instead try and use the flat of the edge of your brush, and drag it along the raised areas – the paint should come off easily onto these edges, saving you from having to be super accurate with a brush tip, which frustrates even the best painters. This allows you to highlight the strands of hair on the top of the helmet so easily, takes seconds and the results make the material read much better.
To save on using extra paints you can always mix in white paint to your basecoat or layer colours to highlight. (This won’t work with metallics.) For consistency’s sake, bottled paint is often easier, with the added bonus that if you want to start from a brighter or darker colour in a different shade you won’t need to mix to get there.
Not every minature (depending on the theme) needs edge highlighting. Usually, sci-fi themed miniatures are more suited for this technique application.
Drybrushing
You’ll find that on more natural textures such as rock, earth, fur and wood, and other materials that are rough and textured, sharp highlights won’t work as well and you’ll want to drybrush.
This technique involves using a brush with stiff bristles, which hobbyist sites usually call drybrushes. For delicate areas you can use a regular brush, but a drybrush is advised for larger areas.
To drybrush, simply get a small amount of paint on your brush to highlight with. Work the paint into the bristles by wiping it on kitchen towel or cardboard. Make sure that your brush is barely leaving any paint on the kitchen towel before applying the brush to the model – hence the term drybrushing!
To apply the paint to the model, simply brush back and forth rapidly, like you’re dusting the model, causing the remaining paint to catch on the edges and textures. Be careful when you get close to the actual body of the model: drybrushing can be messy so you want to ensure that paint isn’t transferred where it isn’t wanted. If you’re going to be drybrushing the main body of a model, perhaps consider doing it before you paint in other details.
The dustiness doesn’t often translate to the sharp edges of cloth and armour, but experiment to see where the effect works.
Detailing
When painting a model it can often be helpful to leave some of the details on the model until the rest of it is finished, so that you don’t risk getting paint on the areas of the model that are being worked on more.
Referring to a colour wheel or observing the choices made on others’ models may help you choose a good complementary or contrasting colour for your details. You’ll need to make a judgement call about how much you want a particular detail to stand out. As a general rule you don’t want details to draw away from the face of a model.
Final touches and advanced techniques
Following these steps will finish a model to a decent standard; a whole unit or army painted like this would look excellent on the table. If there are a few details to clean up and things to correct here, that’s fine, but in a game people likely won’t notice these things.
If you wanted to push your model even further, the next step would be to increase the contrast by focusing on deepening the shading or increasing the brightness of the highlights, before getting into more advanced techniques like blending, glazing, gradients and so on.

It’s important to remember to stop where you feel happiest with the miniature, and that at the end of the day they are mostly going to be used as gaming pieces. Miniature painting can create works of stunning art and technical skill, but the effect that some clean-painted minis has on a table is just as good on a gaming night.


